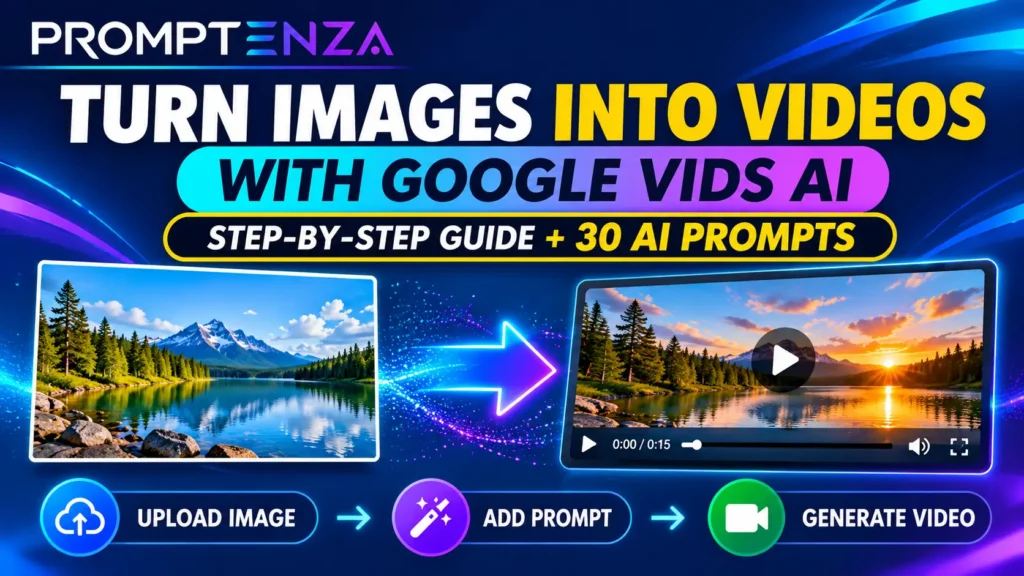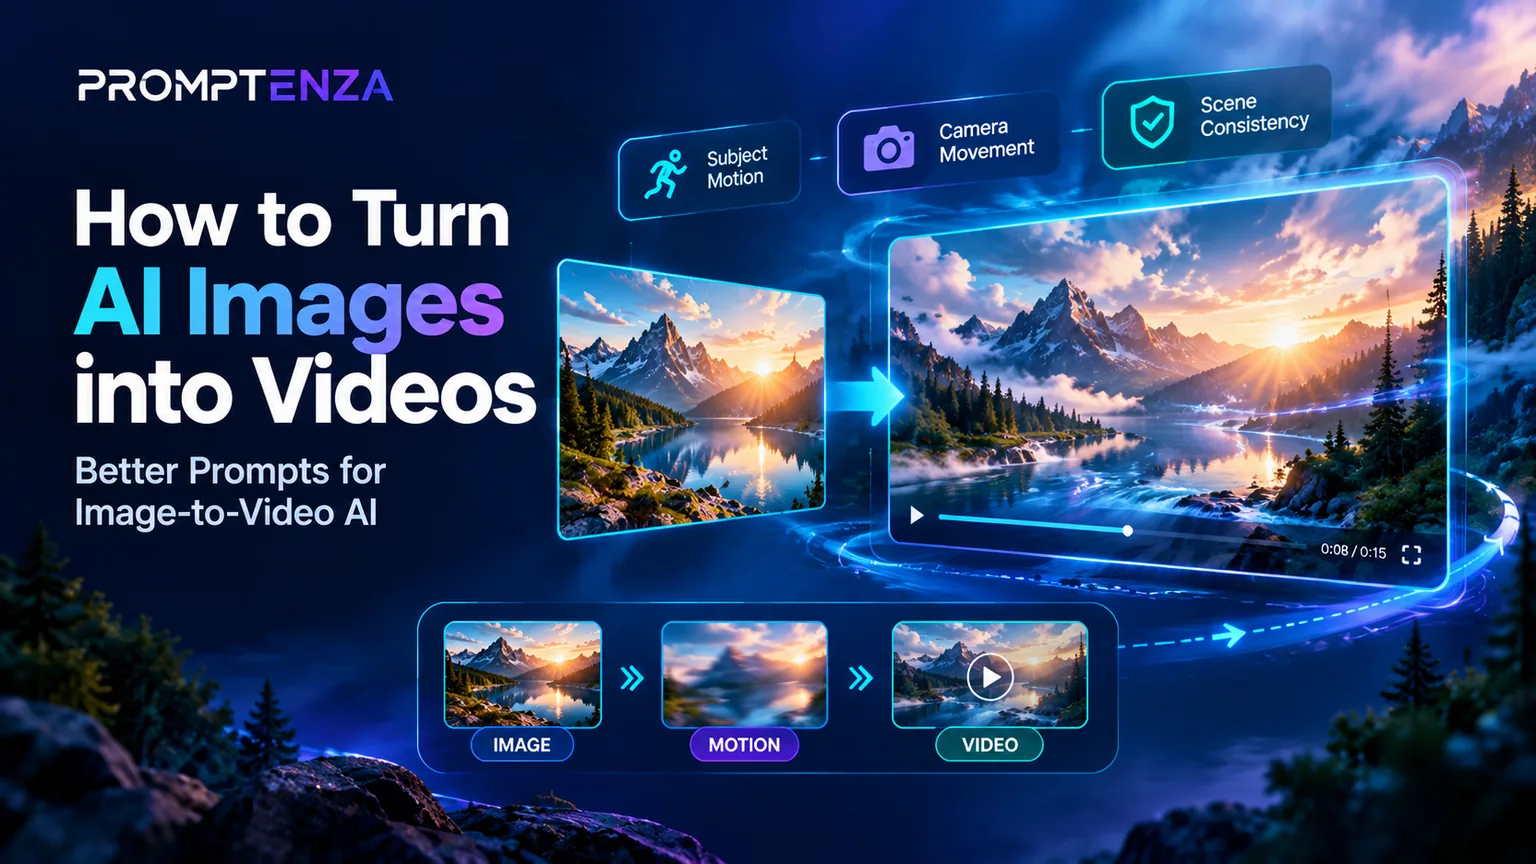
Turning an AI-generated image into a video can be as simple as uploading a picture, describing the movement you want, and generating a short clip. However, the quality of the result often depends on how clearly you explain what should move, how the camera should behave, and which parts of the original image should remain consistent.
In this guide, you will learn how to turn AI images into videos with better prompts, explore practical image-to-video prompt examples, and discover how to troubleshoot common problems such as distorted objects, unnatural movement, and inconsistent details.
Whether you are creating cinematic scenes, product advertisements, social media content, or animated landscapes, these techniques will help you give AI video generators clearer instructions.
Quick Answer: How Do You Turn AI Images into Videos with Better Prompts?
To turn an AI image into a video, upload a clear image to an image-to-video AI tool and write a prompt describing the movement you want. Specify the main subject action, camera movement, motion speed, and any environmental changes. Keep the original image’s important details consistent, generate a short clip, and refine the prompt based on the result.
A useful starting formula is:
Subject action + camera movement + motion speed + environmental details + consistency instructions
For example:
The camera slowly pushes toward the mountain cabin while clouds drift across the sky and pine branches sway gently in the breeze. Smooth, natural movement. Preserve the cabin’s architecture, colors, and original composition.
The goal is not to describe every detail already visible in the image. It is to explain what should happen after the video begins.
What Is Image-to-Video AI?
Image-to-video AI is a type of generative AI technology that transforms a still image into a moving video clip. You provide an image as a visual reference and use a text prompt to guide the movement, camera behavior, and progression of the scene.
Unlike text-to-video generation, which creates a scene from written instructions, image-to-video generation starts with an existing visual.
For example, you can use an image-to-video tool to:
- Animate a landscape with moving clouds and flowing water.
- Turn an AI-generated fashion image into a short promotional clip.
- Add subtle movement to a product photograph.
- Create cinematic camera movement around a fictional environment.
- Animate illustrations for storytelling and social media.
- Create short video scenes from concept art.
The original image usually establishes the subject, composition, lighting, and visual style. Your prompt then guides how those elements move. The exact degree of control varies between AI models and tools. <Cite refs={[“turn160379search0″,”turn160379search2”]} />
For a broader introduction to the subject, read Promptenza’s guide to AI video prompting and learn how different instructions influence generated video.
How to Turn AI Images into Videos: Step by Step
You do not need to begin with a complicated prompt. Follow this workflow to build a clear instruction around your existing image.
Step 1: Choose a Suitable Starting Image
Your starting image provides the visual foundation for the video. Choose an image with a clear subject, a readable composition, and details that are unlikely to be confused with one another.
Before uploading it, check the following:
- Image clarity: Important details should be reasonably sharp.
- Subject visibility: The main subject should be easy to identify.
- Composition: Leave enough visual space for the movement you want.
- Lighting: Make sure the image has a coherent lighting direction.
- Consistency: Check faces, hands, text, product labels, and other details that matter.
For example, a wide landscape image can work well for a slow camera push toward a mountain. A product image with a clearly visible label may be better suited to subtle lighting changes or a gentle camera movement.
If the starting image contains visible errors, animation may make those errors more noticeable. Correct the image first when possible.
You can also learn how to create stronger starting visuals in Promptenza’s AI image prompting guide.
Step 2: Decide What Should Move
The most important question is: what do you want the viewer to see happening?
Instead of writing a general instruction such as “animate this image,” identify one primary action.
| Image type | Possible movement |
|---|---|
| Landscape | Clouds drift, trees sway, or water flows |
| Portrait | The subject blinks, turns slightly, or smiles |
| Product image | Reflections shift or the camera moves closer |
| City scene | Vehicles move in the distance or lights change |
| Fantasy illustration | Fabric moves, particles float, or mist drifts |
| Food photograph | Steam rises or liquid gently pours |
These are examples of possible instructions, not guaranteed capabilities. The results depend on the image, the model, and the prompt.
Prompt example:
Soft clouds drift slowly behind the mountain while the grass in the foreground moves gently in the breeze.
This is more useful than “make the landscape alive” because it identifies which elements should move and how they should behave.
Step 3: Choose One Main Camera Movement
Camera movement gives your clip a sense of perspective and direction. You do not need to use complex film terminology, but learning a few common terms can make your prompts more precise.
| Camera movement | What it does | Example instruction |
|---|---|---|
| Slow push-in | Moves closer to the subject | The camera slowly pushes toward the flower |
| Pull-back | Moves away to reveal more of the scene | The camera gradually pulls back from the building |
| Pan left or right | Moves the view horizontally | The camera pans slowly from left to right |
| Tilt up or down | Changes the vertical viewing angle | The camera tilts upward toward the tower |
| Tracking shot | Follows a moving subject | The camera tracks alongside the moving car |
| Orbit | Moves around the subject | The camera makes a slow arc around the sculpture |
| Static shot | Keeps the camera fixed | The camera remains locked while the trees sway |
For beginners, one camera movement is usually a good starting point. Combining several movements immediately can make the intended result harder to control.
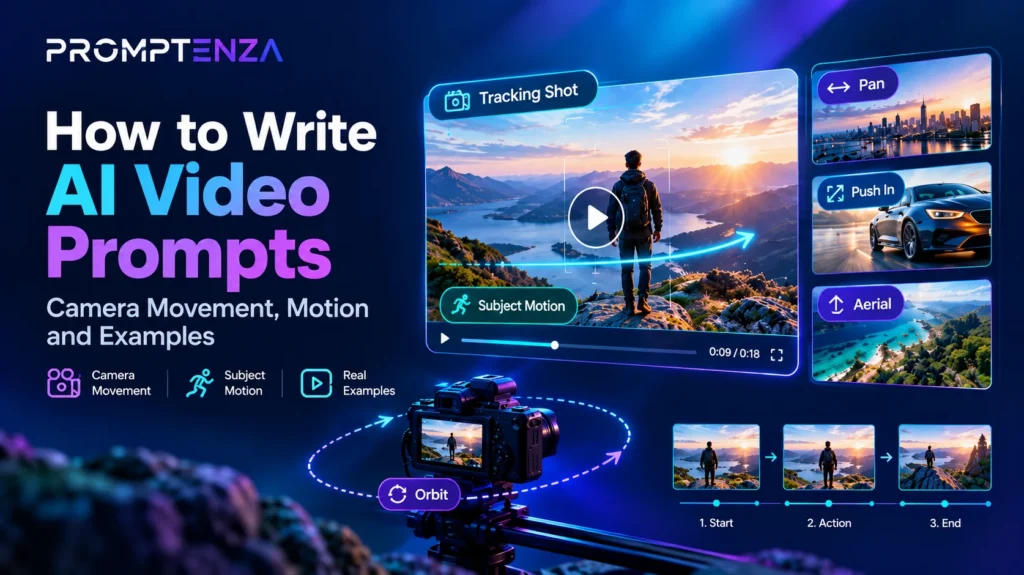
For more examples, read How to Write AI Video Prompts: Camera Movement, Motion and Examples.
Step 4: Describe the Speed and Style of Movement
Words such as slowly, gently, gradually, and smoothly help communicate the intended pace.
Compare these prompts:
Weak prompt:
The camera moves around the car.
Improved prompt:
The camera makes a slow, smooth arc around the stationary car, gradually revealing its side profile and reflective bodywork. Preserve the car’s shape, paint color, and visible branding.
The improved version defines the movement, its speed, and the details that should remain consistent.
Choose movement that suits the image. A subtle push-in may be appropriate for a premium product photograph, while a wider tracking movement may work better for a landscape or a moving subject.
Step 5: Protect Important Details
AI-generated video can sometimes change details that you expected to remain fixed. Faces, hands, product shapes, logos, text, clothing, and background structures may shift during animation.
If these details are important, include a concise consistency instruction.
Examples:
- Preserve the subject’s facial identity and hairstyle.
- Keep the product’s shape, label, and colors consistent.
- Maintain the original building layout and architectural details.
- Keep the subject’s clothing unchanged throughout the clip.
- Preserve the illustration’s original color palette and visual style.
These instructions can reduce ambiguity, but they cannot guarantee perfect consistency. Some tools also offer reference-frame controls or other settings that may help.
Avoid filling the prompt with a long list of every possible restriction. Prioritize the two or three details that matter most to your intended result.
Step 6: Generate, Review, and Refine
Once your prompt is ready, generate the video and review the result.
Ask yourself:
- Did the intended subject move correctly?
- Did the camera move in the right direction?
- Did the image’s important details remain consistent?
- Was the movement smooth enough?
- Did anything move that should have remained still?
If the result is not right, change one part of the prompt at a time.
For example, if the camera moves too aggressively, change “camera moves toward the subject” to “camera slowly pushes toward the subject.” If the background changes unexpectedly, strengthen the instruction to preserve the original background.
This process makes it easier to understand which changes actually improve the output.
The Best Formula for Image-to-Video Prompts
A practical image-to-video prompt can contain five elements.
1. Subject action: What should move or happen?
2. Camera movement: How should the viewpoint change?
3. Speed and timing: How quickly should the movement happen?
4. Environmental motion: Should clouds, water, leaves, lights, or other elements move?
5. Consistency instructions: Which important details should stay the same?
Use this reusable template:
[Subject action]. The camera [camera movement] at a [speed] pace. [Environmental movement or atmosphere]. Preserve [important visual details]. Maintain [desired motion style].
You do not need to include every element in every prompt. If you want a completely static camera, say so. If the scene only needs one subtle movement, keep the prompt short.
For a deeper explanation of prompt structure, see Prompt Anatomy: Parts of an Effective AI Prompt and How to Improve AI Prompts.
10 Copy-and-Paste AI Image-to-Video Prompts
The following examples show how to adapt a still image into a short video. Upload a suitable image first, then adjust the prompt to fit what is actually visible in it.
1. Cinematic Landscape Animation
Best for: Mountains, forests, valleys, and scenic AI artwork.
Prompt:
The camera slowly pushes toward the mountain range. Clouds drift gently across the sky while distant pine trees sway in a light breeze. Soft morning light, smooth natural motion. Preserve the original landscape, colors, and composition.
Why it works: It combines one main camera movement with restrained environmental motion.
2. Portrait Animation
Best for: Illustrated characters, portraits, and suitable portrait photographs.
Prompt:
The subject blinks naturally, then makes a subtle, relaxed smile. A gentle breeze moves a few strands of hair. The camera remains stationary. Preserve facial identity, hairstyle, clothing, and the original lighting.
Why it works: The prompt focuses on small movements rather than asking the subject to perform several complex actions.
3. Product Advertisement
Best for: Product photography, packaging, and promotional visuals.
Prompt:
The camera slowly pushes toward the product as a soft studio reflection travels across its surface. Keep the product centered and stationary. Preserve its exact shape, label, logo placement, and colors. Clean, premium advertising style.
Why it works: It adds visual interest without requiring the product itself to change shape.
4. Luxury Perfume or Cosmetic Visual
Best for: Perfume bottles, skincare packaging, and beauty product images.
Prompt:
A slow, controlled camera push-in toward the bottle. Soft highlights shift subtly across the glass while the background remains still. Preserve the bottle geometry, cap, label text, and brand colors. Elegant studio lighting and smooth movement.
Why it works: The prompt emphasizes controlled lighting and the preservation of product details.
5. Ocean and Beach Animation
Best for: Coastal photographs and AI-generated beach scenes.
Prompt:
Small waves roll gently toward the shore and retreat naturally. The camera remains fixed while sunlight glimmers on the water. Subtle movement, realistic water behavior, and consistent horizon placement. Preserve the original beach composition.
Why it works: The water provides the main movement while the fixed camera helps maintain the scene’s composition.
6. Fashion Image Animation
Best for: Fashion illustrations, editorial images, and clothing campaigns.
Prompt:
The subject makes a slight turn toward the camera as the fabric moves gently in a soft breeze. The camera performs a subtle push-in. Preserve the outfit design, garment colors, facial identity, and background. Smooth editorial motion.
Why it works: It gives the subject one primary action and uses restrained camera movement.
7. Futuristic City Animation
Best for: Science-fiction cityscapes and futuristic concept art.
Prompt:
The camera slowly tracks forward along the futuristic street. Distant traffic moves steadily while building lights glow softly. Maintain the original architecture, perspective, and color palette. Smooth cinematic motion with a stable camera path.
Why it works: It distinguishes foreground camera movement from background activity.
8. Fantasy Artwork Animation
Best for: Magical landscapes, fantasy illustrations, and imaginative environments.
Prompt:
Glowing particles float slowly through the air as a thin layer of mist drifts around the ancient stone arch. The camera gently pushes forward. Preserve the illustration’s original composition, structures, and purple-blue color palette.
Why it works: Small atmospheric movements can animate fantasy artwork without changing the main subject.
9. Food Photography Animation
Best for: Food photographs, restaurant promotions, and recipe visuals.
Prompt:
Thin wisps of steam rise gently from the freshly prepared dish. The camera slowly pushes toward the plate while the background remains softly out of focus. Preserve the food’s appearance, plate shape, and original arrangement. Warm, natural lighting.
Why it works: Steam and a controlled push-in add motion while keeping the food presentation consistent.
10. Illustration-to-Video Animation
Best for: Digital art, concept illustrations, and stylized scenes.
Prompt:
The illustrated character slowly turns their head toward the window as curtains move gently in the breeze. The camera remains locked. Preserve the original linework, character design, proportions, colors, and artistic style.
Why it works: It identifies the action while explicitly protecting the illustration’s visual identity.
For more inspiration, explore Promptenza’s AI prompt examples and AI prompt templates.
Weak vs. Strong Image-to-Video Prompts
Small wording changes can make a prompt easier to interpret.
| Weak prompt | Stronger prompt |
|---|---|
| Make this image move | Clouds drift slowly while the camera pushes toward the mountain |
| Make it cinematic | Slow tracking movement, soft directional lighting, and restrained motion |
| Animate the person | The subject blinks naturally and turns slightly toward the camera |
| Make the product look better | Soft highlights move across the stationary product while its shape and label remain consistent |
| Make the ocean realistic | Small waves roll toward the shore and retreat naturally while the horizon remains fixed |
| Add lots of movement | Leaves sway gently in the breeze while the camera remains stationary |
The stronger examples identify specific actions rather than relying on vague descriptions of mood or quality.
Common Image-to-Video Prompt Mistakes and How to Fix Them
Mistake 1: Describing the Image Instead of the Movement
If you upload a picture of a red car parked beside a road, the AI can already see the car and the road.
Repeating the entire visual description may be unnecessary.
Instead of:
A red sports car parked beside a road with trees in the background.
Try:
The camera slowly tracks along the side of the stationary car while sunlight shifts across its bodywork. Preserve the car’s shape, paint color, and background.
Describe the scene itself when you need to introduce something new or request a significant transformation.
Mistake 2: Asking for Too Many Actions
A short clip may struggle to communicate several complex actions at once.
For example, asking a person to walk, wave, turn, smile, pick up an object, and leave the scene may produce rushed or inconsistent movement.
Fix: Choose one primary action and, if necessary, one secondary movement.
Mistake 3: Combining Conflicting Camera Instructions
Instructions such as “keep the camera completely static while orbiting around the subject” conflict with one another.
Fix: Decide whether the camera should remain fixed or move around the subject. If you want movement without a change in viewpoint, describe the subject or environment as the moving element.
Mistake 4: Ignoring the Original Image
A prompt cannot always compensate for an unclear or flawed starting image.
Fix: Improve the source image before generating video. Check the subject, composition, lighting, and any important text or visual details.
Mistake 5: Using Vague Motion Words
Words such as “beautiful,” “dynamic,” and “professional” may communicate a desired mood, but they do not explain precisely what should happen.
Fix: Replace vague descriptions with observable actions, such as “the camera slowly pulls back” or “the curtains sway gently from left to right.”
Mistake 6: Changing Too Many Things Between Generations
If you rewrite the entire prompt after every attempt, it becomes difficult to identify which instruction improved the output.
Fix: Adjust one variable at a time: camera speed, subject action, environmental motion, or consistency instructions.
For more ways to diagnose weak instructions, read AI Prompting Techniques and AI Prompt Constraints.
How to Maintain Consistency Across Multiple Video Clips
If you are building a sequence instead of generating a single clip, consistency becomes especially important.
For example, you might create three clips showing the same fictional character entering a room, approaching a window, and looking outside.
To make the sequence feel connected:
- Use consistent reference images when your tool supports them.
- Preserve the character’s clothing, hairstyle, and appearance.
- Keep the lighting direction and color palette similar.
- Describe each new action clearly.
- Avoid unnecessary changes to the camera angle and environment.
- Review the ending of one clip before generating the next.
Some tools let you use a previous clip’s final frame as the starting image for a new clip. When available, this can help connect successive shots, although it does not guarantee seamless continuity. <Cite refs={[“turn160379search3″,”turn160379search10”]} />
For longer projects, build each shot separately and assemble the clips in a video editor. This gives you more control over pacing, transitions, sound, and the final sequence.
How to Choose an AI Image-to-Video Tool
Different tools support different workflows, controls, image formats, clip lengths, and generation limits. Check the current capabilities of a tool before planning a project around it.
When comparing tools, consider:
| Feature | Why it matters |
|---|---|
| Image upload | Allows you to use an existing photograph or AI-generated image |
| Motion control | Helps guide subject and environmental movement |
| Camera controls | May provide more precise movement options |
| Reference consistency | Can help maintain subjects or visual details |
| Output resolution | Affects suitability for different publishing uses |
| Clip duration | Determines how much movement can fit into a generation |
| Aspect ratios | Helps match the requirements of different platforms |
| Editing and export | Determines how easily you can finish the video |
Explore Promptenza’s AI tools directory to discover tools relevant to your workflow.
Before using a generated clip commercially, check the selected platform’s current usage terms, licensing conditions, and any applicable restrictions.
A Simple Image-to-Video Workflow for Content Creators
If you regularly publish AI-generated visuals, use this repeatable process:
- Create the image: Develop the visual using a suitable image generator.
- Check the image: Correct visible problems and confirm that the composition supports your intended movement.
- Choose one action: Decide what should move first.
- Write the prompt: Specify the action, camera movement, speed, and details to preserve.
- Generate the clip: Start with a simple version.
- Review the result: Look for unintended movement, distortions, or changes in important details.
- Refine the prompt: Adjust one instruction at a time.
- Edit and export: Add sound, captions, transitions, or other finishing elements if needed.
For creators producing both still images and video, this workflow can make visual development more systematic. It is also a practical way to apply the principles covered in Promptenza’s AI prompting for beginners resources.
Frequently Asked Questions
Can I turn any AI-generated image into a video?
Many AI-generated images can be used as video references, but compatibility depends on the tool and the image itself. Check the platform’s supported formats and image requirements. Results can also vary based on the quality and complexity of the starting image.
What should I write in an image-to-video prompt?
Focus on the movement you want to create. Describe the subject’s action, camera movement, speed, environmental motion, and any details that must remain consistent. Avoid unnecessarily repeating the entire image description.
How long should an image-to-video prompt be?
There is no universal word limit. Start with a concise prompt that communicates the main action and camera behavior. Add more detail only when it helps clarify the result.
How do I stop an AI video from changing the original image?
Use a clear source image and explicitly identify the details that must remain consistent, such as a product label, clothing, facial identity, or background architecture. Some tools provide additional reference controls. However, no prompt can guarantee that every detail will remain unchanged.
Should I use negative prompts for image-to-video generation?
It depends on the tool. Some platforms support dedicated negative-prompt fields, while others work primarily with ordinary text instructions. Where appropriate, clearly describe the desired result and use the available controls according to the platform’s documentation.
Can I use image-to-video prompts for advertisements?
Yes. They can be used to create short product animations, promotional scenes, and social media visuals. For commercial use, review the tool’s licensing terms and check that important branding, packaging, and product details remain accurate.
What is the difference between image-to-video and text-to-video?
Image-to-video begins with an existing visual and uses a prompt to guide how it moves. Text-to-video starts with a written description and generates the visual scene from that description. Image-to-video is useful when you want to preserve an established composition, while text-to-video provides more freedom to create a scene from scratch.
Test Your Image-to-Video Prompting Knowledge
1. What should an image-to-video prompt mainly describe?
A. Every detail already visible in the image
B. The movement and changes you want to see
C. A long list of unrelated visual styles
D. The history of the image
2. Which is the clearest instruction for animating a landscape?
A. Make the landscape exciting
B. Create a very beautiful video
C. Clouds drift slowly while the camera pushes toward the mountain
D. Change everything in the picture
3. What should you do if the camera moves too quickly?
A. Add several unrelated actions
B. Rewrite every part of the prompt
C. Specify a slower, smoother camera movement
D. Remove the source image
4. How can you help preserve a product’s appearance?
A. Ask the model to redesign it
B. Specify that its shape, label, and colors should remain consistent
C. Ask for multiple transformations at once
D. Avoid mentioning the product
5. What is a useful way to improve a weak generation?
A. Change several unrelated instructions at once
B. Keep the same unclear prompt indefinitely
C. Adjust one instruction and review the result
D. Always make the prompt longer
Answers and Explanations
- B — The prompt should focus primarily on the movement and changes you want.
- C — It gives the model a clear action and camera direction.
- C — Explicitly describing the desired speed makes the instruction clearer.
- B — Identifying important details can help guide consistency.
- C — Changing one instruction at a time makes refinement easier to evaluate.
Final Takeaway
Turning AI images into videos is not just about selecting a generator. It is about giving the model clear instructions for how a still image should move.
Start with a suitable image, choose one main action, specify the camera movement, and protect the visual details that matter. Generate a short clip, review the result, and refine the prompt one change at a time.
As you become more comfortable with image-to-video prompting, you can build more sophisticated workflows for cinematic scenes, product promotions, social content, and visual storytelling.
Continue learning with Promptenza’s guides to AI image prompting, AI video prompting, and Prompt Anatomy.